September 10, 2026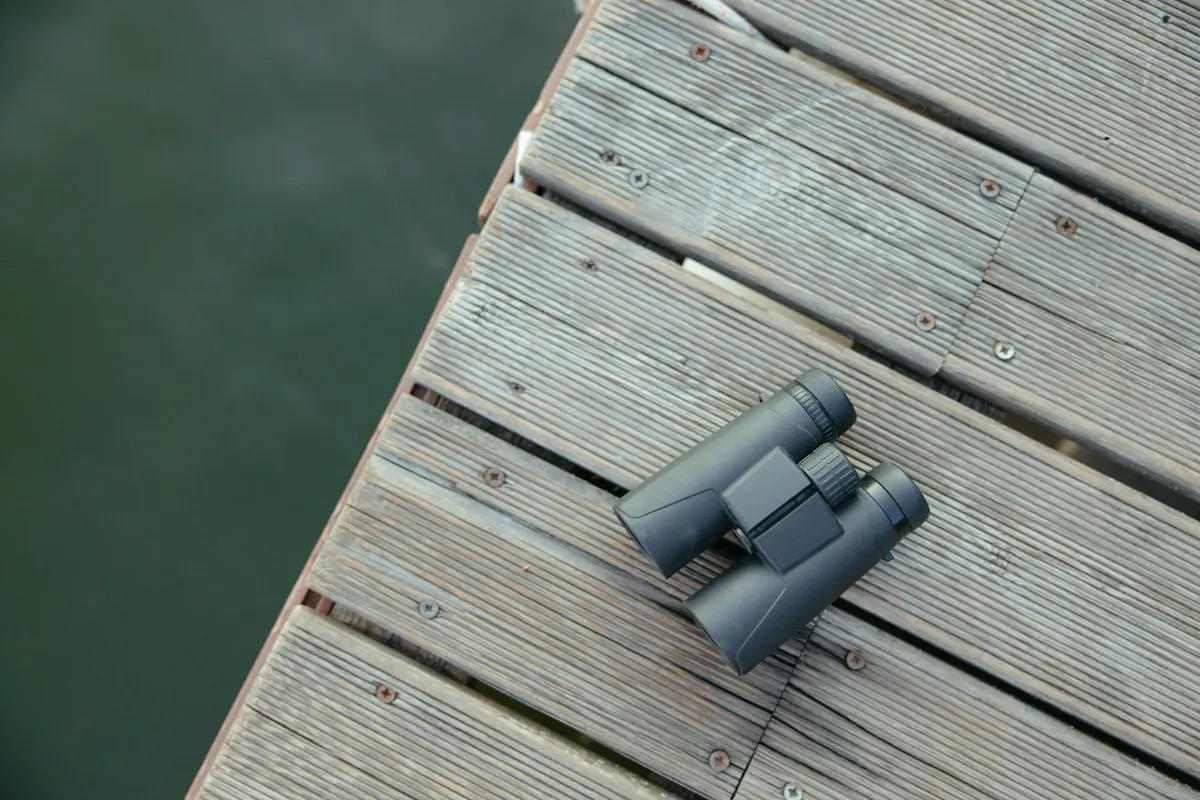
Most people start birdwatching by accident. Something moves in the hedge, you look properly for once, and a bird you have seen a hundred times turns out to be one you cannot name. That small moment of not knowing is the beginning. What usually follows is a rush to buy things — binoculars, guides, a notebook — and then a mild disappointment when the birds still refuse to sit still. The fix is not more gear. It is buying the right few things, learning to use a field guide as a tool rather than a picture book, and giving yourself one small place to practise in.
The kit that earns its place
Three items do almost all the work: a pair of binoculars, a field guide, and something to write in. That is genuinely it for the first year or two.
Leave the spotting scope until you find yourself regularly watching waders or wildfowl across water, because that is what scopes are for. Leave the camera until you have stopped needing it as an excuse to look at birds. A tripod, a monopod and a bag of accessories are all things you can want later and buy later. Beginners who carry too much stop going out.
Choosing binoculars you will actually carry
Binoculars are described by two numbers. An 8x42 has eight times magnification and 42mm objective lenses. For general birdwatching, 8x42 and 10x42 are the sensible starting points. The 8x gives a wider view and is steadier to hold; 10x reaches further but narrows the view and shows up every wobble in your hands. If you are unsure, 8x is the kinder choice.
When you handle a pair, check a few practical things:
- Close focus. How near can you focus? A pair that focuses down to two metres is far more useful in a garden, a hedgerow or a small wood than one that only works from eight metres out.
- Field of view. Wider makes it much easier to find a bird that is already moving.
- Eye relief. If you wear glasses, you need enough of it to see the full circle with your glasses on. Test this in person rather than trusting a label.
- Weight and balance. Hold them at your eyes for a full minute. If your arms are complaining after sixty seconds, they will not come out with you.
- Waterproofing and a smooth focus wheel. One hand should be able to turn it while the other supports the barrel.
Try before you buy. Reserve visitor centres, bird fairs and larger optics shops all let you take pairs outside, which is the only real test. Second-hand binoculars are a perfectly good route if the glass is unscratched, the focus runs smoothly and there is no internal haze or fungal growth — look through them against a bright sky to check.
Holding them properly
Do not walk around looking through binoculars. Find the bird with your naked eye first, keep your eyes fixed on the spot, then raise the binoculars to your face without moving your head. Practise on leaves, chimney pots and distant road signs until it feels automatic. Set the dioptre adjustment once — the ring on one barrel that compensates for a difference between your eyes — then forget it.
Getting to grips with a field guide
A field guide is a comparison tool. The mistake beginners make is finding one picture that looks roughly right and stopping there. Instead, read the whole plate around it.
Work through the obvious questions in order: how big is it compared with something familiar, how does it stand and move, what shape is the bill, what colour are the legs, is it alone or in a flock, and what habitat is it in? Then check the text for voice, behaviour and season, and look at the range map. Colour is often the least reliable clue — light, wet feathers and the angle you are viewing from all change it.
Learn the pairs that trip everyone up. Chiffchaff and willow warbler. Dunnock and house sparrow. Buzzard and red kite. Meadow pipit and skylark. Once you know a confusion pair exists, you stop guessing and start looking.
Sound matters as much as sight. Even a handful of calls — robin, wren, blue tit, great tit, blackbird, wood pigeon — will tell you what is present before you see anything. Recording apps can be useful for a second opinion, but treat their answers as suggestions, not verdicts, and keep trying to learn the sounds yourself.
Finding your first local patch
A patch is a place you visit repeatedly, not a place you visit once. That repetition is what teaches you. Look for:
- A short journey. If it takes more than half an hour to reach, you will go monthly rather than weekly.
- Mixed habitat. Water, rough grass, hedges, mature trees and a scrubby edge will between them hold far more species than a manicured park.
- Public access. Stick to footpaths, towpaths, commons, country parks and reserves with open access. Check local signs and any seasonal restrictions, and never cross private land to get a better view.
- A loop you can walk in about an hour. Something you can fit in before work.
- Routine. Somewhere you already pass on the school run or the dog walk is ideal.
Respect the place while you are there: keep to paths, keep dogs under control, and give nesting birds and roosting flocks plenty of room, particularly in spring and on cold winter mornings when birds are burning energy they cannot spare.
Making repeat visits count
Walk the same route, in the same direction, at roughly the same pace. That is how a patch becomes readable. Go at different times of day and in different weather, and note what changes.
Keep simple notes: date, time, wind and cloud, what you saw, roughly how many, and what the birds were doing. Rough counts are more useful than long lists. Spend your first few months learning the residents — the twenty or thirty species that are there all year — because once you know those well, anything different stands out immediately.
If you want your records to be useful beyond your own notebook, submit them to a national recording scheme such as BirdTrack or eBird, which feed into county bird recorders and conservation work.
Your first month
- Week one. Borrow or buy one pair of binoculars. Practise the look-then-raise technique in the garden or nearest park.
- Week two. Pick your patch and walk it once. Do not try to identify everything.
- Week three. Walk it again with your field guide, and work through three or four birds slowly and properly.
- Week four. Walk it at a different time of day, and start a notebook with a page per visit.
Two walks a week for a season will teach you more than a dozen trips to famous reserves. The birds will still be difficult, and that is rather the point.
Photo: Yaroslav Shuraev / Pexels